
Hardware Requirements:
VPS: 8GB Memory, 2 or 4 Core CPU
SSH into your VPS using Terminal or PuTTY etc
ssh root@YourIP
apt update
apt -y upgrade
apt -y install docker.io docker-compose curl
curl -O https://gitlab.com/shardeum/validator/dashboard/-/raw/main/installer.sh && chmod +x installer.sh && ./installer.sh
Answer defaults to all questions and write down your password for the web interface you will need this later.
1. Navigate to your node in a browser(I had to use Firefox, Chrome would not connect). It will be something like this https://<Your IP Address Here>:8080
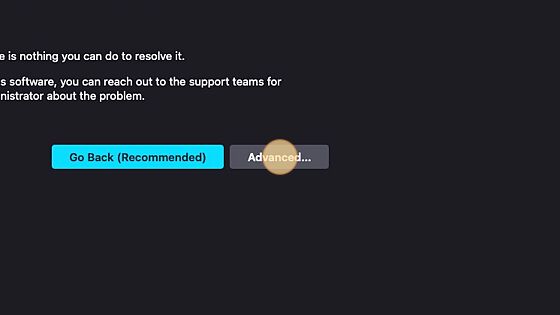
2. Warning: Potential Security Risk Ahead Click "Advanced…" button
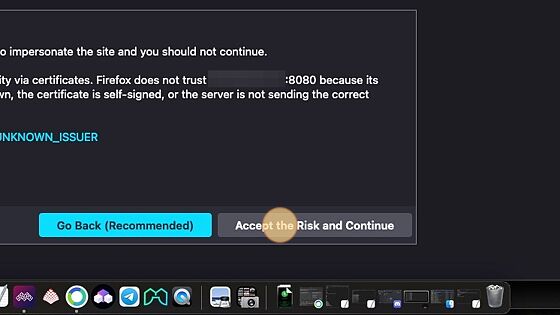
3. Warning: Potential Security Risk Ahead Click "Accept the Rick and Continue"
4. Enter your node password you created in the Linux terminal
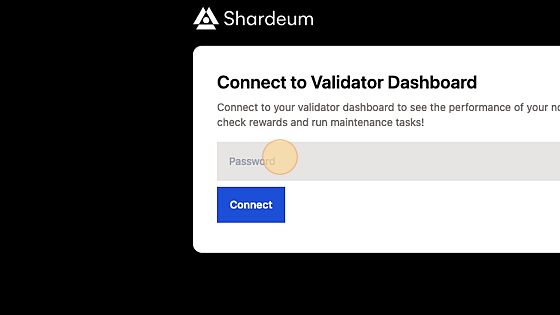
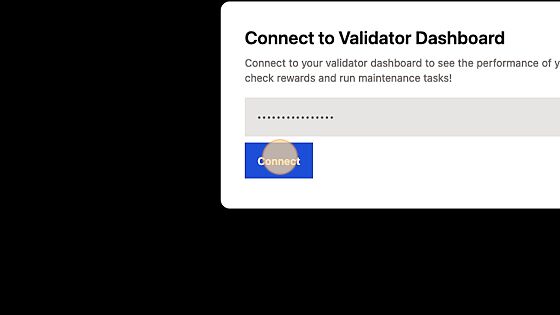
5. Click "Connect"
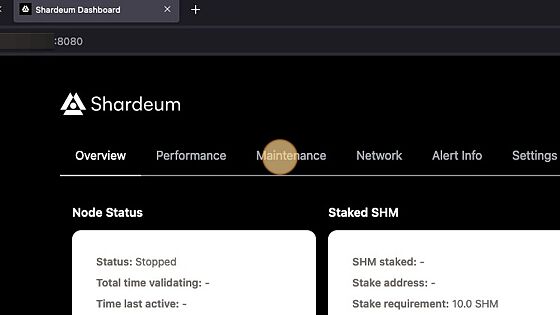
6. Shardeum Dashboard Click "Maintenance" tab
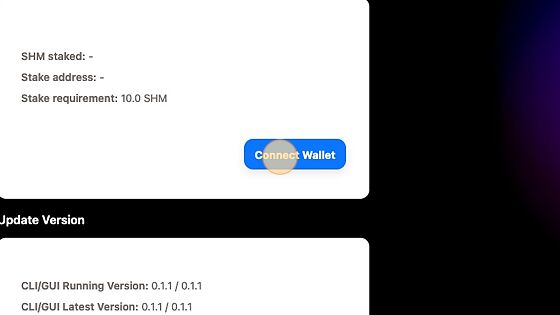
7. Click "Connect Wallet"
8. Click "MetaMask" or "WalletConnect" for other wallets.
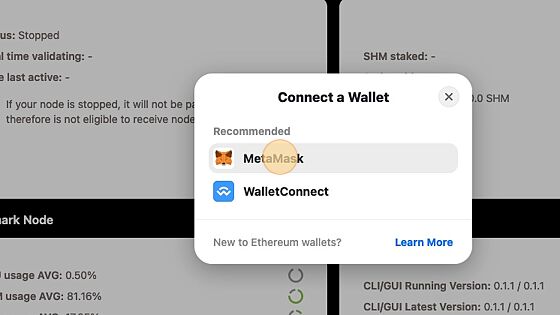
9. In the popup, select your wallet and click "Next"

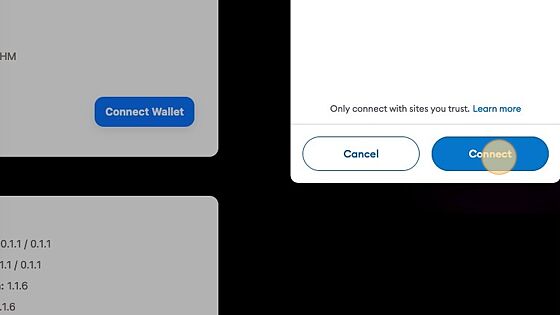
10. Click "Connect"
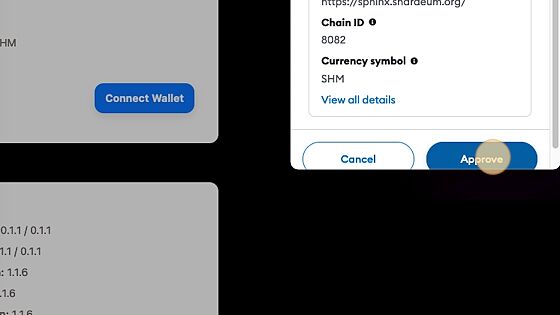
11. Click "Approve" to add the Shardeum Sphinx Network
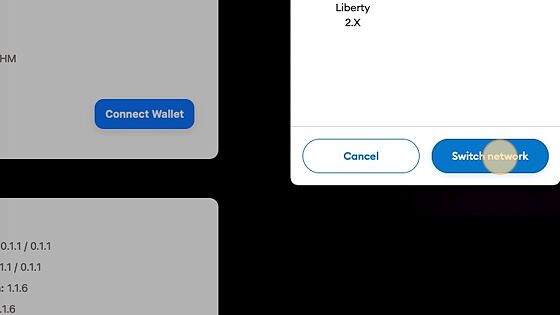
12. Click "Switch network" to switch to the Shardeum Sphinx network
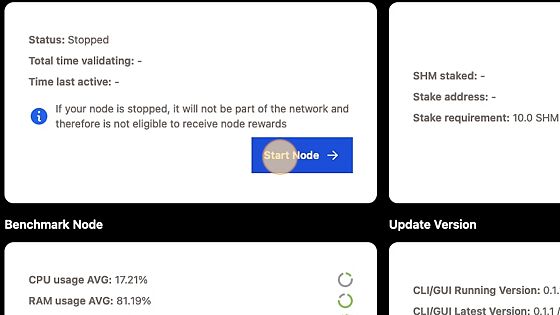
13. Click "Start Node"
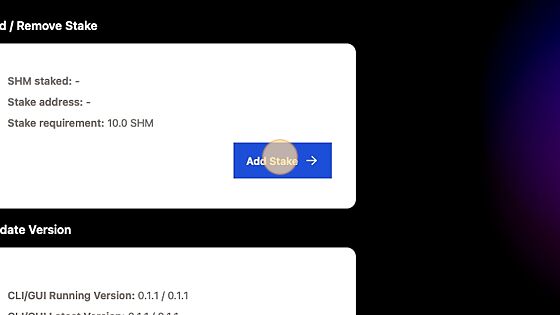
14. Click "Add Stake"
15.
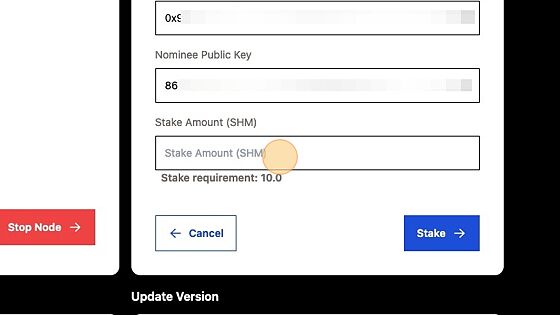
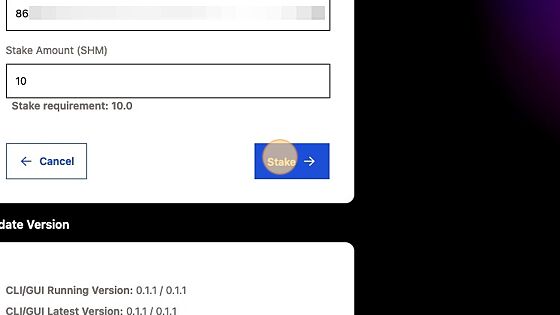
16. Type "10" for amount to Stake
17. Click "Stake"
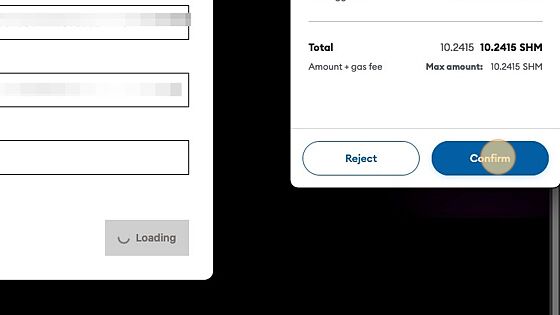
18. Click "Confirm"
19. References:
https://shardeum.org/blog/how-to-run-a-validator-node-on-sphinx/#Minimum_Hardware_Requirements%E2%80%8B